
How to Properly Install Vinyl Tiles: A Step-by-Step Guide
Vinyl tiles are a popular flooring choice for homes and commercial spaces because they are stylish, affordable, durable, and easy to maintain. They are also available in a wide variety of colors and patterns, including designs that resemble natural wood, stone, and ceramic tiles.
However, even high-quality vinyl tiles may lift, shift, or develop visible gaps when installed incorrectly. For a clean and long-lasting finish, proper preparation and careful installation are essential.
Tools and Materials You Will Need
Before beginning, prepare the following materials and tools:
- Vinyl tiles
- Vinyl flooring adhesive, if required
- Tape measure
- Pencil or chalk line
- Utility knife with replacement blades
- Metal ruler or straightedge
- Notched trowel
- Floor roller or hand roller
- Vacuum or cleaning materials
- Floor patching or leveling compound
- Gloves and knee pads
Common Vinyl Tile Installation Mistakes
Avoid these common mistakes to achieve a better and longer-lasting result:
- Installing over a dirty, damp, or uneven subfloor
- Skipping moisture testing on concrete
- Failing to acclimate the vinyl tiles
- Starting without checking the layout
- Using the wrong type of adhesive
- Applying too much or too little adhesive
- Ignoring the adhesive’s recommended waiting time
- Allowing the tile joints to move out of alignment
- Failing to roll the installed floor
- Cleaning the floor or adding heavy furniture too soon
Always follow the instructions provided by the vinyl tile and adhesive manufacturers, as installation requirements may differ depending on the product.
Step 1: Prepare the Subfloor
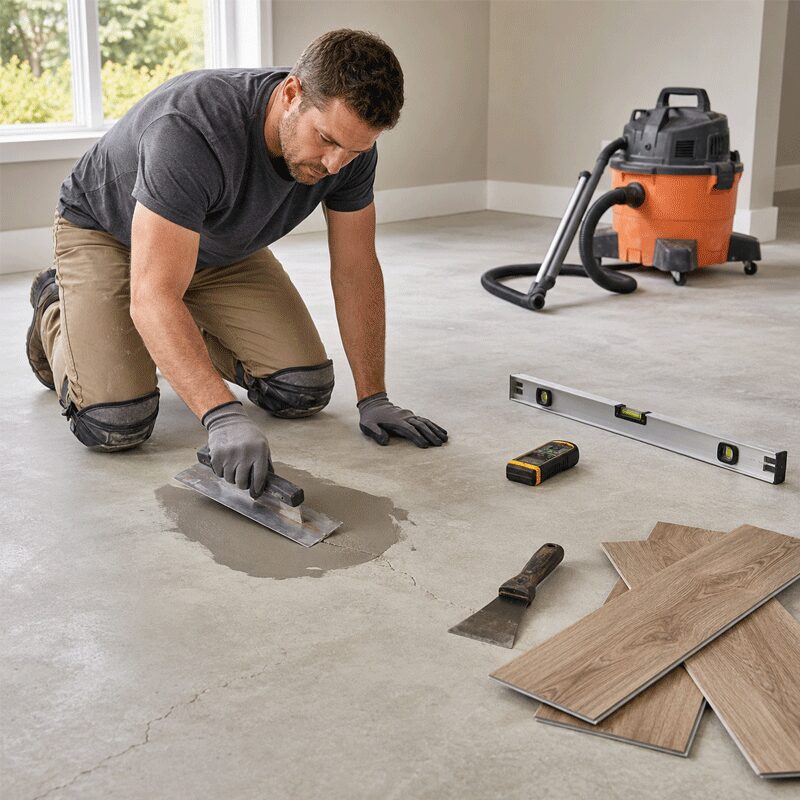
A properly prepared subfloor is the key to a successful vinyl tile installation. The surface must be clean, dry, smooth, level, and structurally stable.
Remove all dust, dirt, grease, paint, loose materials, and old adhesive residue. Repair any cracks, holes, or uneven sections using a compatible floor patching or leveling compound.
Small imperfections may eventually become visible through the vinyl tiles, so do not install them over a rough or damaged surface.
For concrete floors, check for excessive moisture before installation. Moisture can weaken the adhesive and cause the tiles to bubble, lift, or separate. Newly poured concrete must also be fully cured before it is covered.
Step 2: Acclimate the Vinyl Tiles
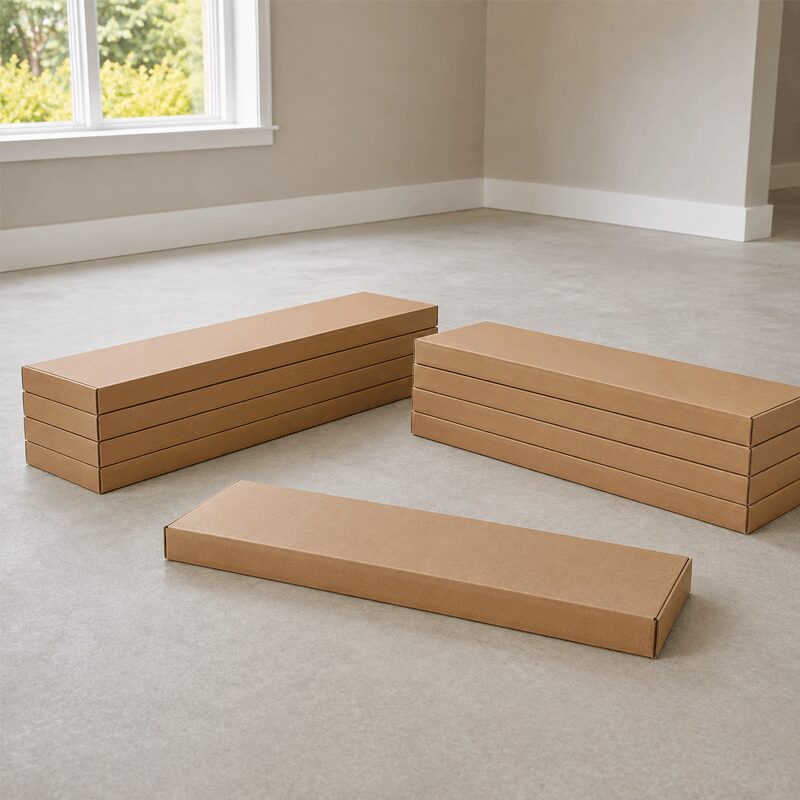
Place the unopened boxes of vinyl tiles flat inside the room where they will be installed. Allow them to adjust to the room’s temperature and humidity according to the manufacturer’s recommendation commonly for at least 24 to 48 hours.
Proper acclimation helps minimize expansion, contraction, and movement after installation.
Step 3: Plan the Tile Layout
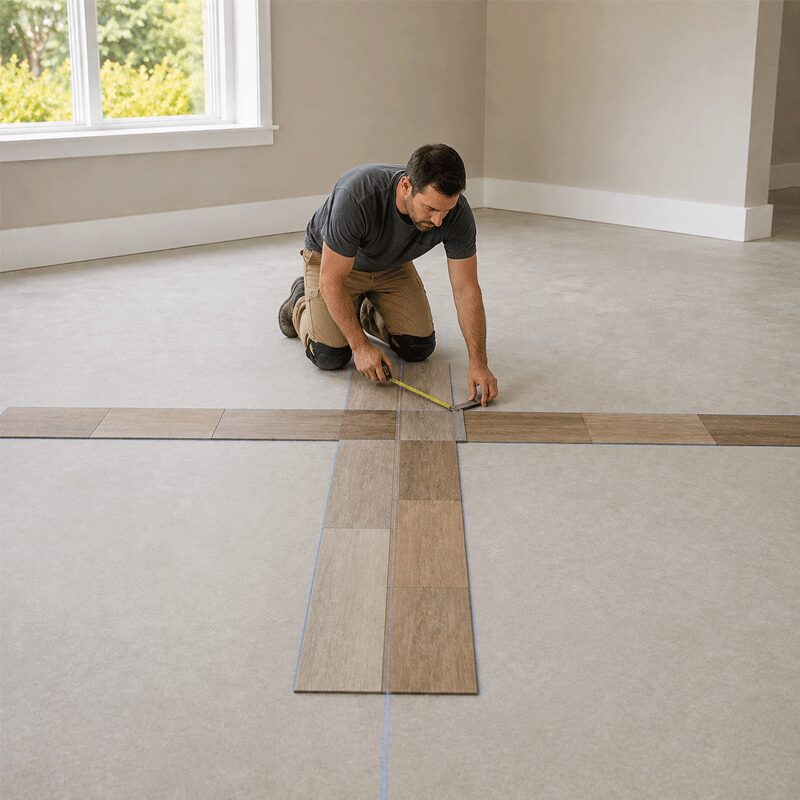
Measure the room and identify its center. Use a chalk line to divide the floor into four sections, making sure the lines are straight and square.
Before applying adhesive, dry-lay a row of tiles in both directions. This will help you see how the tiles will fit near the walls.
If the layout creates very narrow tile cuts on one side of the room, adjust your starting point. A balanced layout with similar-sized border tiles will provide a cleaner and more professional appearance.
For vinyl tiles with wood or stone patterns, mix pieces from different boxes to distribute the color and pattern variations naturally.
Step 4: Apply the Adhesive
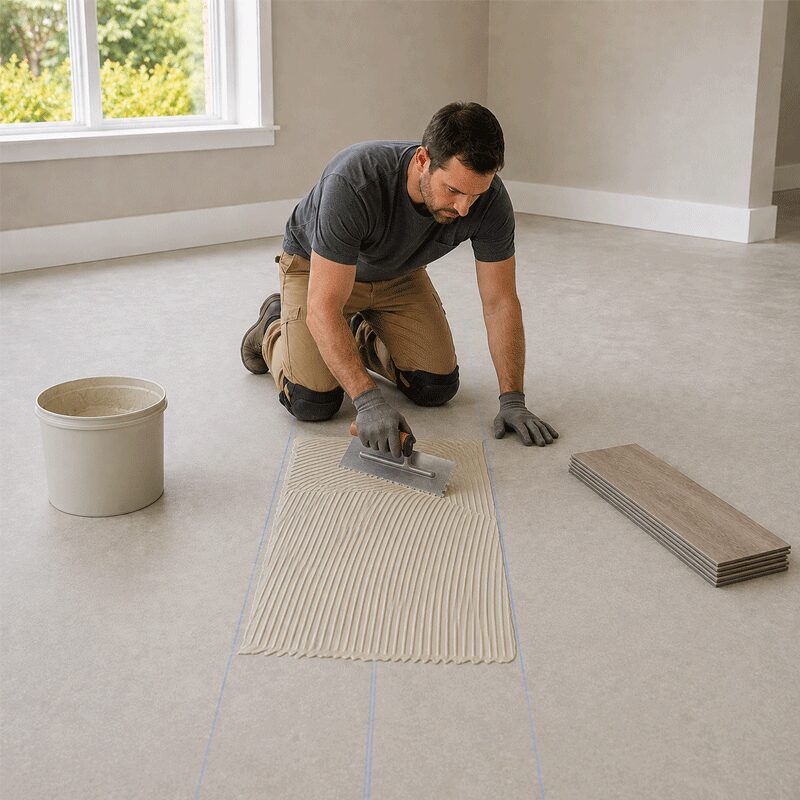
If you are installing glue-down vinyl tiles, use only the adhesive recommended by the manufacturer. Apply it evenly using the specified notched trowel.
Work in small, manageable sections so the adhesive does not become too dry before the tiles are installed. Follow the recommended waiting or tack time before laying the tiles.
For peel-and-stick vinyl tiles, remove the protective backing only when you are ready to install each piece. Avoid touching the adhesive surface, as dirt and oil from your hands may reduce its bonding strength.
Do not add extra adhesive unless the manufacturer allows it.
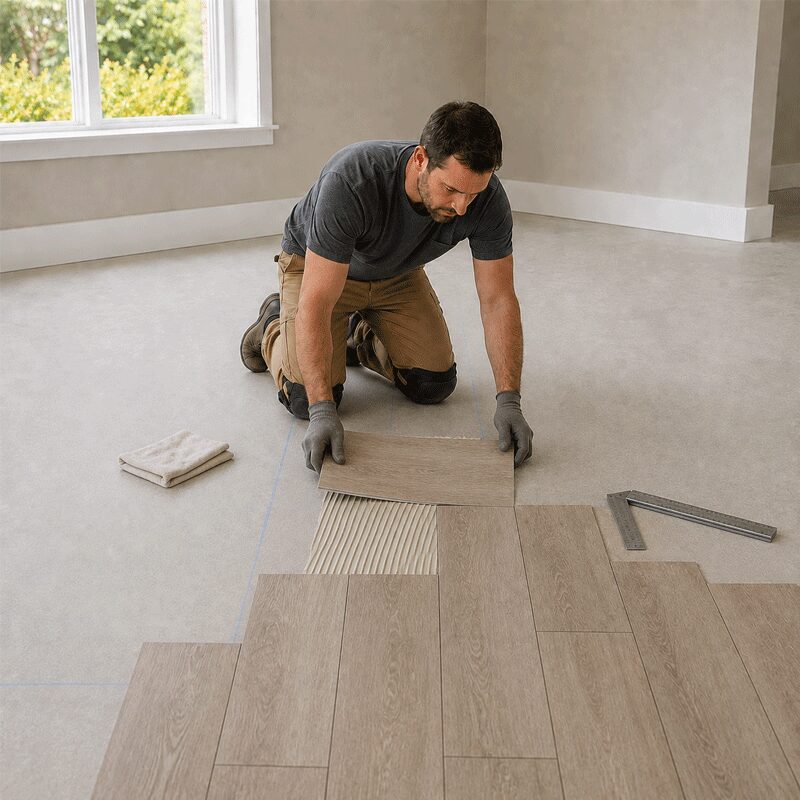
Step 5: Install the Vinyl Tiles
Begin at your planned starting point, usually near the center of the room. Carefully align the first tile with the chalk lines and press it firmly into place.
Continue installing one tile at a time. Keep the edges close together without forcing or overlapping them.
Check the alignment regularly as you work. A small mistake in the first few rows can become more noticeable as the installation continues.
Immediately wipe away any adhesive that appears on the surface using the cleaning method recommended by the manufacturer.
Step 6: Measure and Cut the Edge Tiles
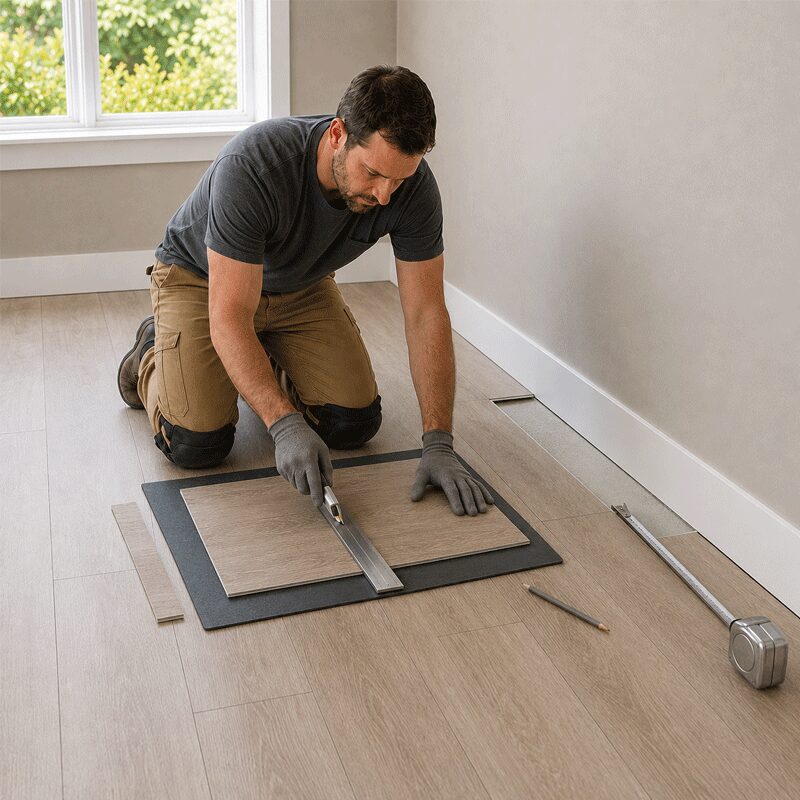
Tiles installed near walls, doorways, cabinets, and columns may need to be cut.
Measure the remaining space carefully and transfer the measurement onto the vinyl tile. Use a metal ruler or straightedge to guide your utility knife.
Score the tile several times using light, controlled passes. Bend the tile gently along the scored line and complete the cut.
Remember to maintain any perimeter clearance required by the manufacturer. Baseboards or appropriate edge trims can cover the small gap after installation.
Step 7: Roll the Floor
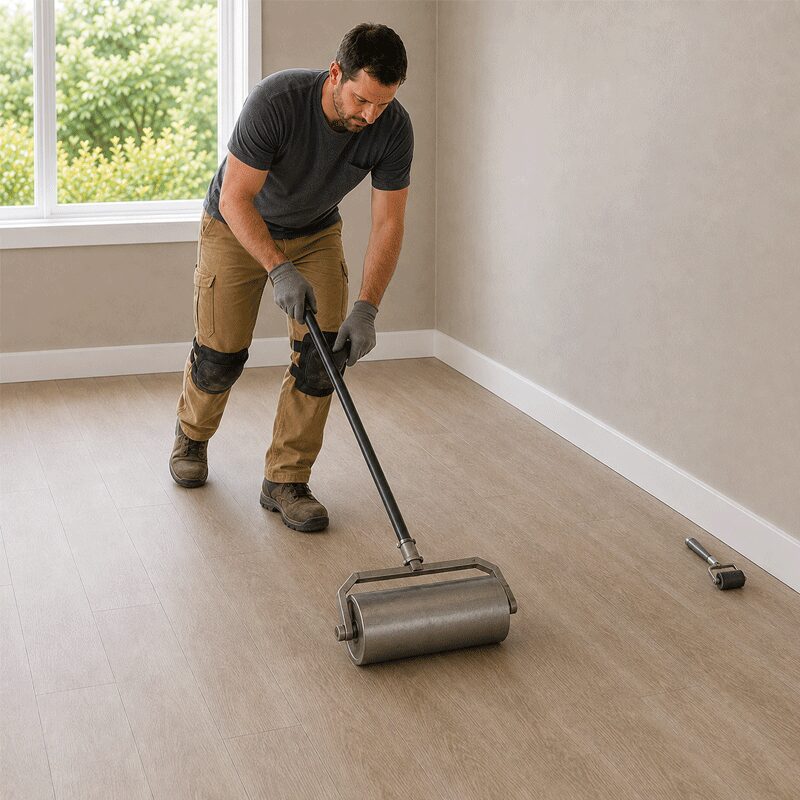
After installing the tiles, roll the entire floor using the roller recommended by the manufacturer. Roll in both directions to remove trapped air and create firm, even contact between the tiles, adhesive, and subfloor.
Use a hand roller around walls, corners, and other areas that a larger floor roller cannot reach.
This step is especially important for glue-down vinyl tiles because insufficient pressure may result in loose edges or poor adhesion.
Step 8: Allow the Floor to Set
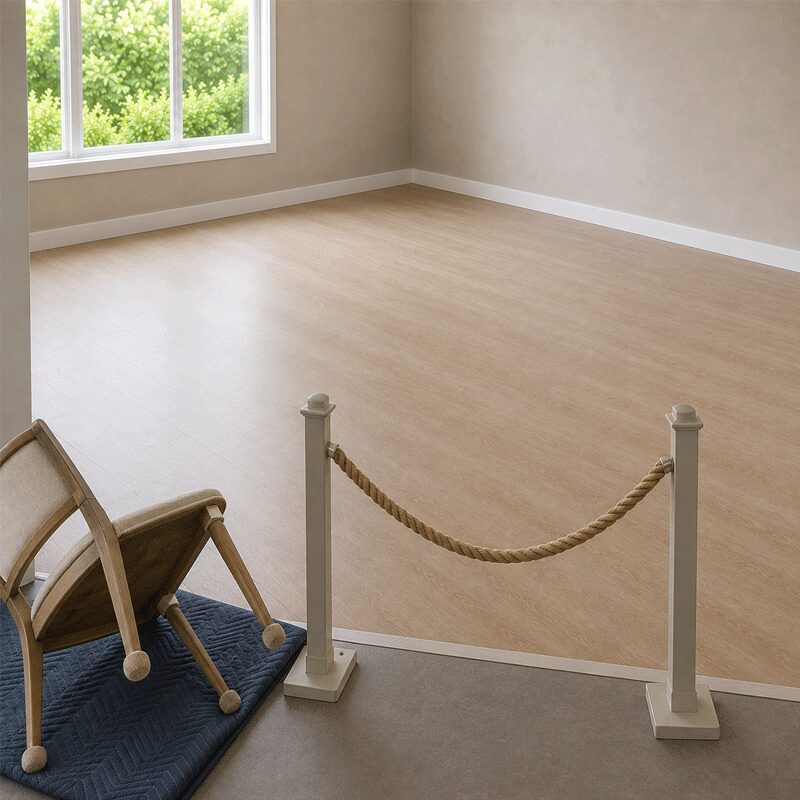
Give the flooring enough time to bond and cure. During this period, avoid heavy foot traffic, washing, wet mopping, or placing furniture and appliances on the floor.
The required waiting period depends on the flooring and adhesive used, so always refer to the manufacturer’s instructions.
When moving furniture back into the room, lift it instead of dragging it across the floor. Use protective pads under furniture legs to prevent scratches and dents.
How to Maintain Vinyl Tile Flooring
Vinyl tiles are relatively easy to maintain. Sweep or vacuum the floor regularly to remove sand, dirt, and other particles that may scratch the surface.
Clean the floor using a damp mop and a cleaner approved for vinyl flooring. Avoid abrasive scrubbers, harsh chemicals, excessive water, and steam cleaners unless the flooring manufacturer specifically approves them.
Place mats at entrances to reduce dirt and moisture, but make sure the mat backing is compatible with vinyl flooring. Some rubber-backed mats may cause discoloration.
Clean spills immediately to prevent stains and reduce the risk of slipping.
Final Thoughts
Proper vinyl tile installation is not simply about placing the tiles neatly. The most important work happens before the first tile is installed.
Preparing the subfloor, checking for moisture, acclimating the material, and planning a balanced layout will help prevent lifting, bubbling, gaps, and uneven results.
With careful installation and proper maintenance, vinyl tiles can provide an attractive, practical, and durable flooring solution for many years. If the area has serious moisture, leveling, or structural problems, consult a professional flooring installer before proceeding.
Available at the following branches:
- Worldwide Tile Depot – Cor. V. Mapa Tionko Ave., Davao City
- Worldwide Tile Depot – A.S. Fortuna Street, Mandaue City
- Worldwide Home Depot – N. Bacalso Avenue, Cebu City
- Worldwide Home Depot – Tangasan Valladolid Carcar, Cebu City
Click here to shop now and follow us on Facebook for the latest news, updates, and special offers!
